Tutorial: Adding new helmets to Chivalry
WIP
This is a work-in-progress
For this problem from the code viewpoint, see Tutorial: Creating a new CustomizationContent script class for a mod so you can control character customization, as well as add helmets and other character assets
For specifications on creating helmet assets, and their style, see the Helmet Specifications
Helmets can have more varied proportions than weapons, where important game play functionality is dependent on the weapons visuals. These just have to fit correctly over the head of the faction and class they are made for (must have eye holes that match with the characters eyes). However they shouldn't be so large that they clip through doorways and interfere with the players swing animations.
Adding a helmet
how to put a custom helmet into chivalry.
Material instance
left check mark enables custom attribute
before you start:
Your Helmet .FBX file needs at least one bone (name doesn't matter) that the verts of the helmet are skinned too. Export with the prefix SK_ (for skeletal mesh) and also export a version without the bones or skin (just the helmet mesh) with the prefix SM_ (for Static mesh)
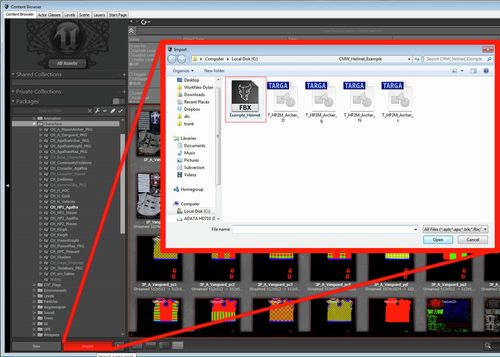
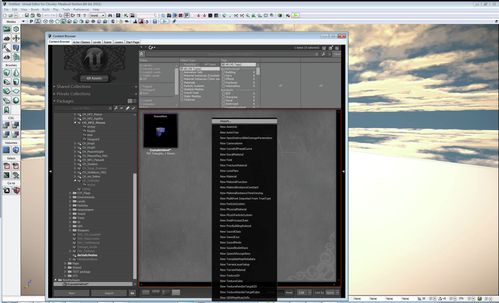
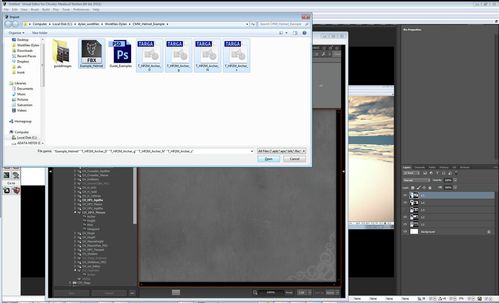
1.1 on the packages field. click the import button at the bottom direct to your skeletal mesh .FBX file
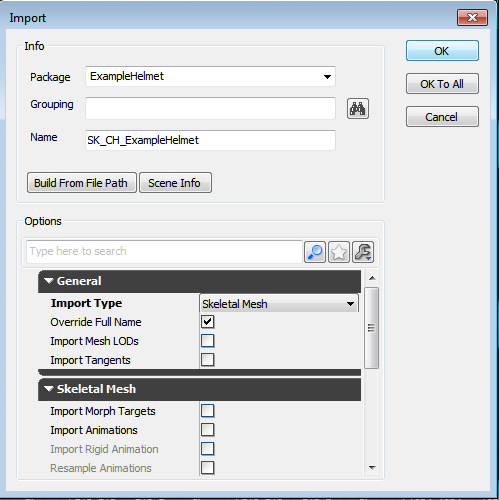
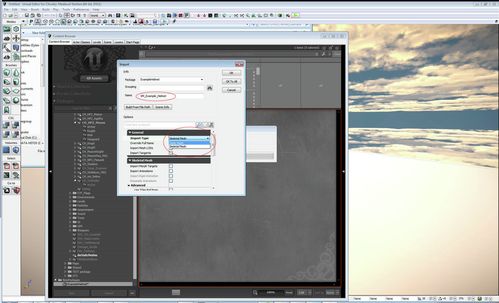
1.2 in the import dialogue name your package (the naming convention for helmets is CH(character)_H(Helmet)_Name)
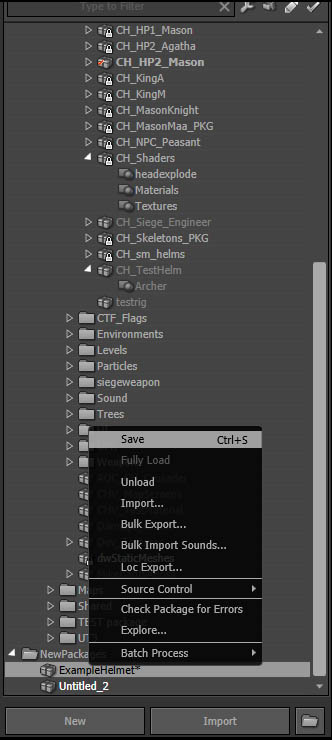
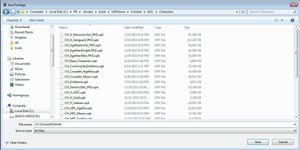
1.3 - At this point we have to save the package, make sure to use the naming convention CH(for character)_name(H is used for most helmets). you must add any new content you are creating to the ContentSDK folder, not to cookedPC
your new helmet will now be in the content browser
1.4 After importing your helmet skeletal mesh, lets import the static mesh .FBX and import the textures.
1.5 - Set the Import type to Static mesh
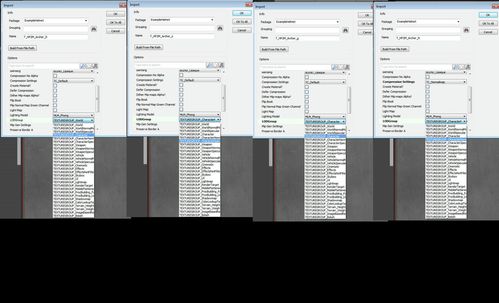
1.6 - remember to set the texture LODGroup for each texture type
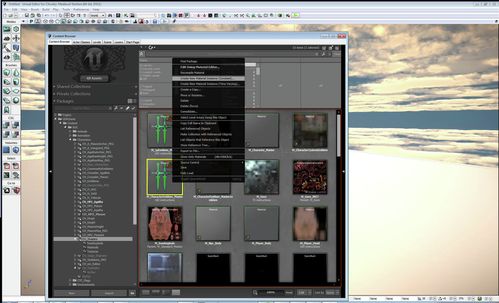
1.7 - now go to the master shader directory (located in: C:\Program Files (x86)\Steam\SteamApps\common\chivalrymedievalwarfare\UDKGame\CookedPC\AOC\Characters\CH_Shaders.upk)
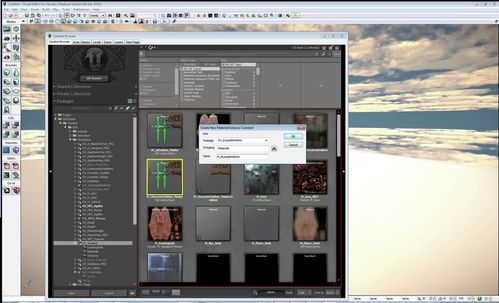
right-click on the M_CharacterEmblem_Master Material and hit "Create new instance (Constant)"
1.8 - in the package field browse to the newly created package and name the material M(for material)_Name
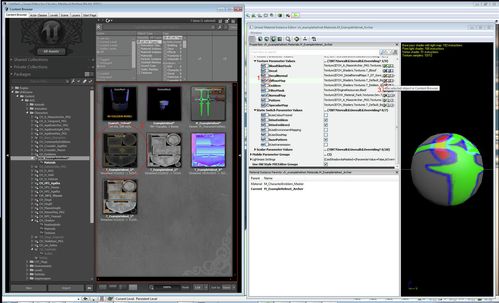
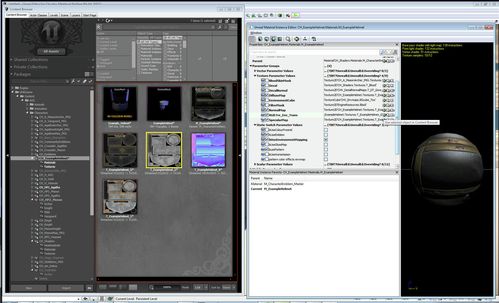
1.9 - double click on your material to open it. under the texture Parameter values, you'll find a directory pointing to a texture file. to set the material to use our helmet textures first check the box next to the map name, then click on the texture in the asset browser, and finally click on the green arrow next to the directory name. Do this for all the main textures (diffuse, normal, specular). Also deactivate emblems and patterns.
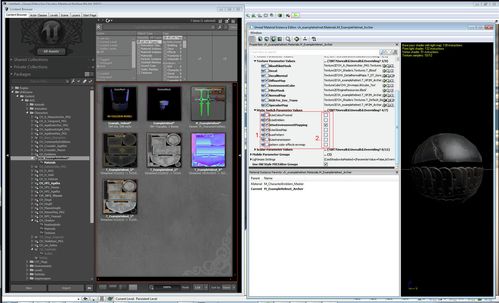
2.1 - in our engine, the gloss map affects the visibility of the environment map, this creates a reflective look used often on metals. In order to use our gloss map to control the environment map masking - we need to activate environment mapping- in the Static Switch Parameter Values rollout, first make sure you check the box next to the element name, this will tell the shader to use a unique value for this element, rather than overriding it with the instances setting. then activate or deactivate the element by checking the box to the right of the element name
2.2 - plug the gloss map into your newly created RGB_Fre_Env_trans texture slot. - this will use the gloss map to drive the environment mapping for the object.
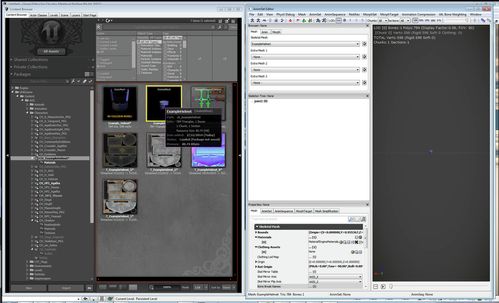
2.3 - now lets apply the material to our skeletal mesh - double click on it in the asset browser
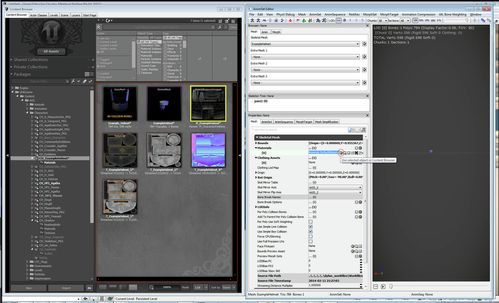
2.4- in the skeletal mesh tab - under the materials rollout, you will find the material directory for each material ID on the skeletal mesh, since this object is using only one material theres only one slot. to use our created material first click on it in the assets browser, then click the green arrow on the right side, similar to the texture section. (Repeat this process for the static mesh NOTE: the area for plugging in your material is different, you can find it in the LODInfo rollout)
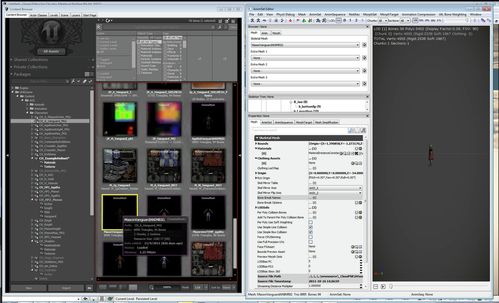
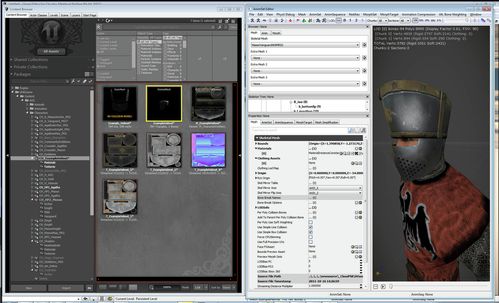
2.5 - now we need to make sure the helmet is aligned properly and fits on the character correctly. browse to one of the character skeletal meshes (in this case were using the vanguard) and double click on it.
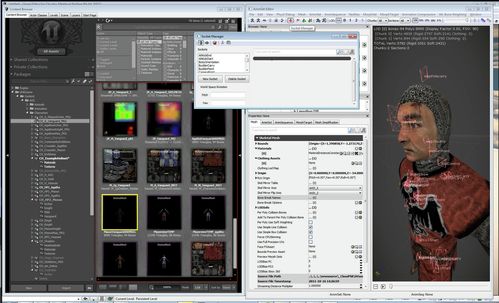
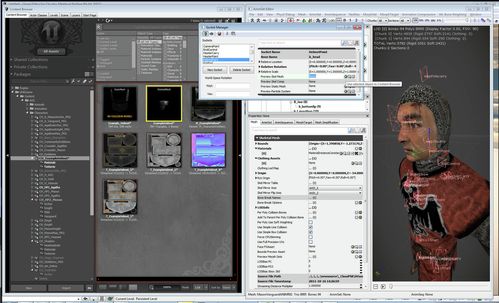
2.6 - click on the socket manager in the upper left region of the animset editor- and find the HelmetPoint socket, from there find the Preview Skel Mesh slot and add your helmets skeletal mesh like before.
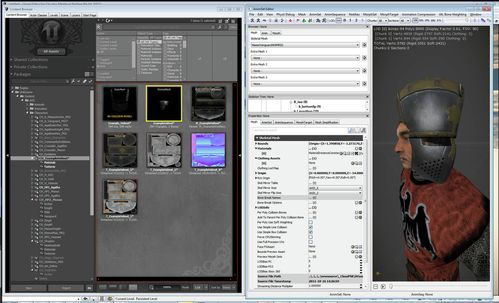
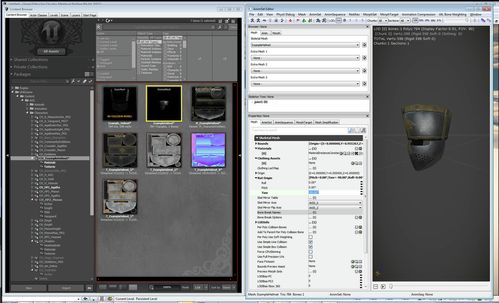
2.7 - as you can see, the helmet is rotated -90 to the left - so in order to fix this we want to go into the skeletal mesh for the helmet, and under the Rot Origin rollout, zero out the Yaw rotation
2.8 - now our helmets looking right!
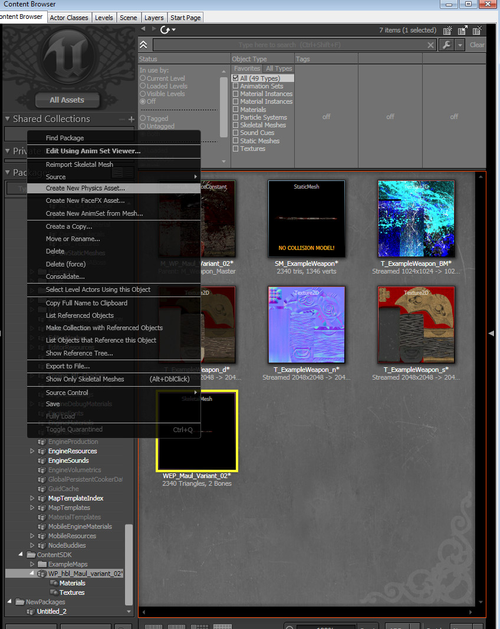
2.9 Now we need to create a Physics asset for our skeletal mesh, this ensures shadows get calculated accurately. it will improve the shadow quality and improve performance.
to create a simple physicsa asset, right click on the skeletal mesh of the helmet, and click create New Physics Asset. Thats it!
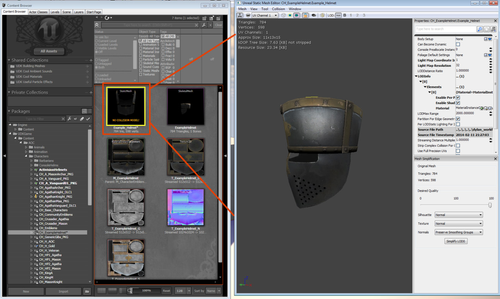
3.1 We also need collision on the Static mesh, so that when the helmet gets knocked off it will fall to the ground and interact with the world.
to create a collision, open up the static mesh, and click the small icon with a red outline.
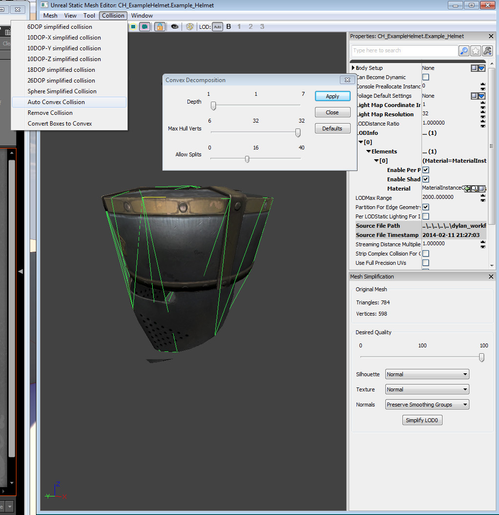
3.2 next, open up the collision dropdown, and select one of the automatic collision options. for this example, were using Auto Convex Collision, 26DOP simplified collision also can yield good results.
Thats the end, with all that done you should upload your .upk too the workshop and show it to the world! Who knows, maybe your helmet will be the next community favorite!
Static Mesh: for when the helmet gets knocked off
Textures:
Diffuse:
Gloss: environment mask
Normal: correct swizzle Y+ go over the common programs and how the work with unreal + the "Wrong is right" test
Spec: color - using the color in the spec map to tint the environment map
