WIP
This is a work-in-progress
Dylans Rough draft of how to put a custom helmet into chivalry.
1.1, 1.2, 1.3, etc - numbers refer to screenshots I will be putting in this document
Material instance
left check mark enables custom attribute
Skeletal Mesh:
et must add any new content your creating to the ContentSDK folder, not to cookedPC
before you start:
workfile needs at least one bone (name doesnt matter) that the verts of the helmet are skinned too
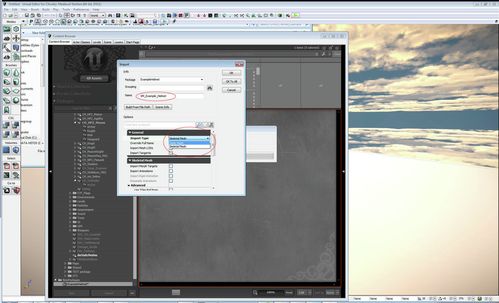
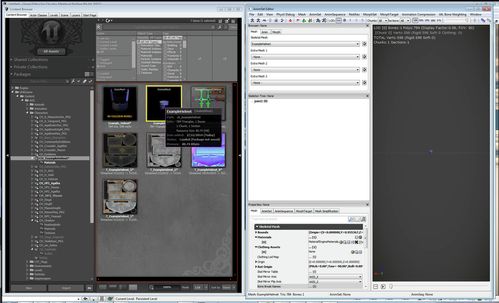
1.1 on the packages field. click the import button at the bottom direct to your skeletal mesh .FBX file
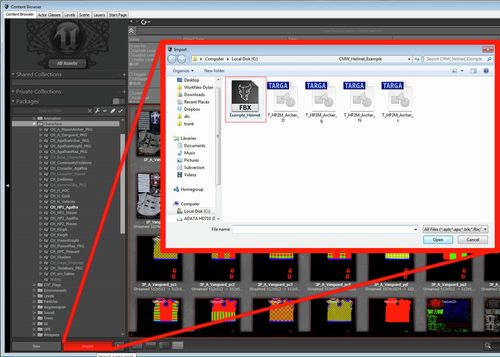
1.2 in the import dialogue name your package (the naming convention for helmets is CH(character)_H(Helmet)_Name)
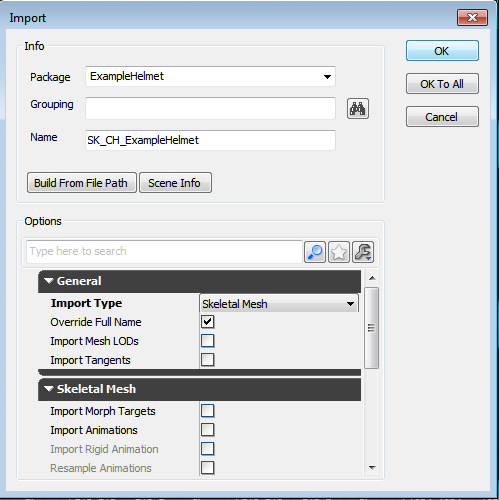
your new helmet will now be in the content browser
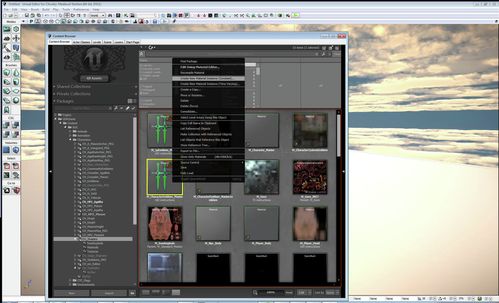
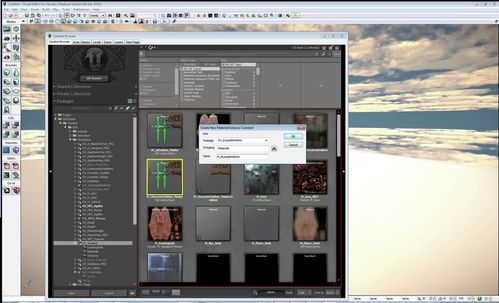
browse to
C:\Program Files (x86)\Steam\SteamApps\common\chivalrymedievalwarfare\UDKGame\CookedPC\AOC\Characters\CH_Shaders.upk
and hit create new material instance (constant) and type the name of your newly created package to ExampleHelmet
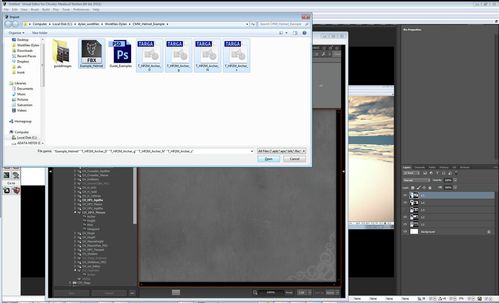
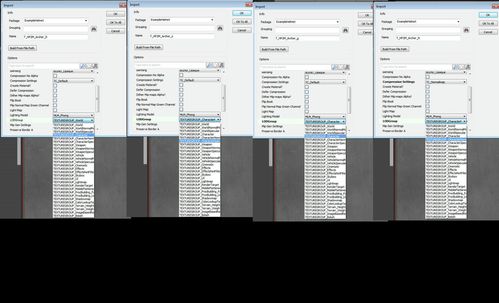
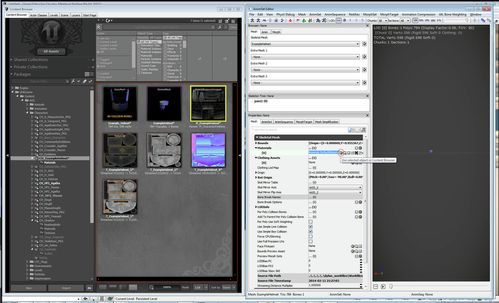
1.4-5 After importing your helmet skeletal mesh, lets reimport the .FBX as a static mesh. and import the textures
1.6 - Set the Import type to Static mesh
1.7 - remember to set the texture LODGroup for each texture type
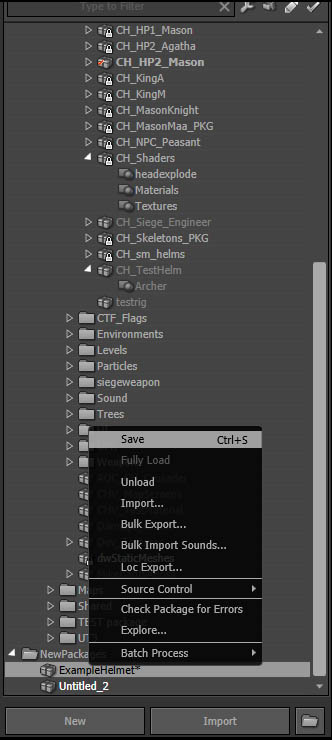
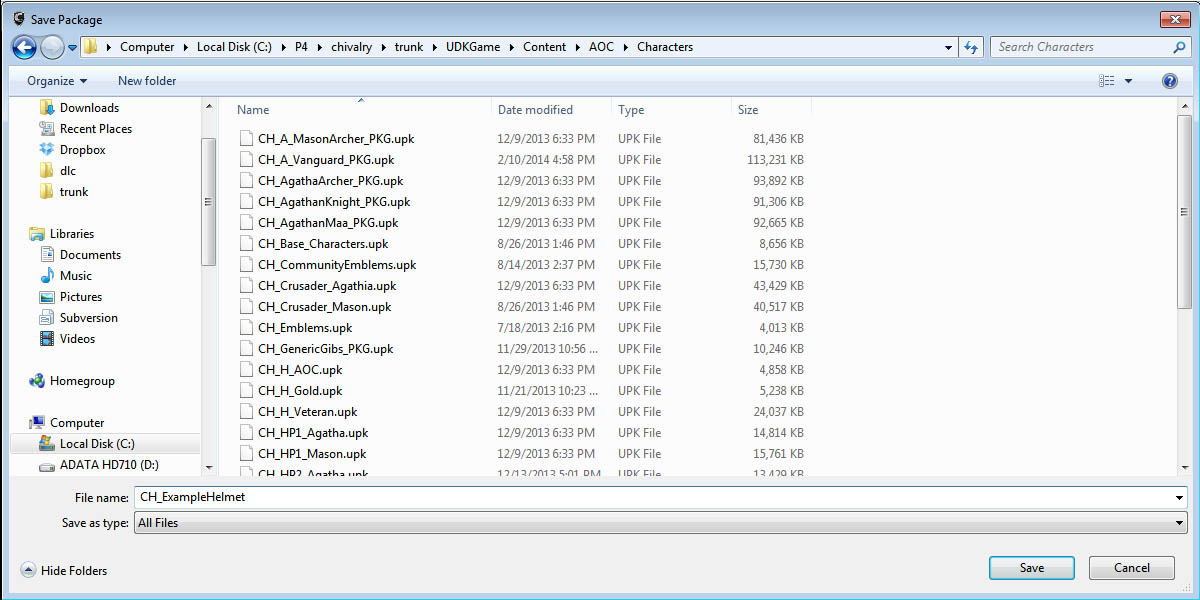
1.8-9 - At this point we have to save the package, make sure to use the naming convention CH(for character)_name(H is used for most helmets)
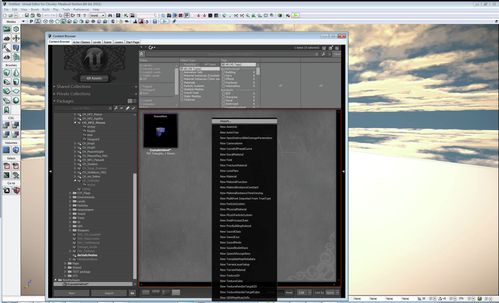
1.10 - now go to the master shader director NEEDS UPDATING ONCE WE SETUP SHADER PACKAGE r-click on the M_CharacterEmblem_Master Material and hit "Create new instance (Constant)"
1.11 - in the package field browse to the newly created package and name the material M(for material)_Name
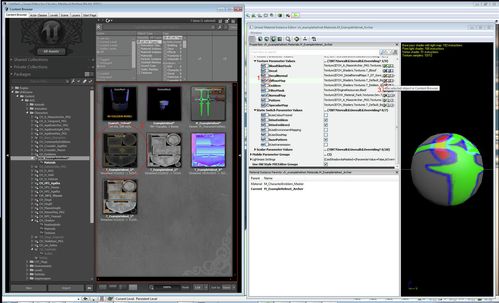
1.12 - double click on your material to open it. under the texture Parameter values, youll find a directory pointing to a texture file. to set the material to use our helmet textures 1, check the box next to the map name 2, click on the texture in the asset browser 3, click on the green arrow next to the directory name. - do this for all the main texture (diffuse, normal, specular)
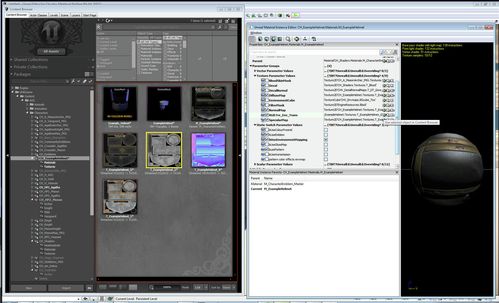
1.13 - in order to use our gloss map to control the environment map masking - we need to activate environment mapping, as well as deactivate emblems and patterns - in the Static Switch Parameter Values rollout, first make sure you check the box next to the element name, this will tell the shader to use a unique value for this element, rather than overriding it with the instances setting. then activate or deactivate the element by checking the box to the right of the element name

1.14 - plug the gloss map into your newly created RGB_Fre_Env_trans texture slot. - this will use the gloss map to drive the environment mapping for the object.
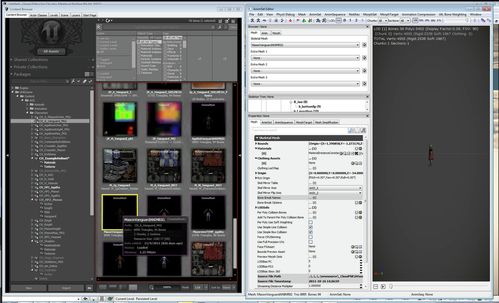
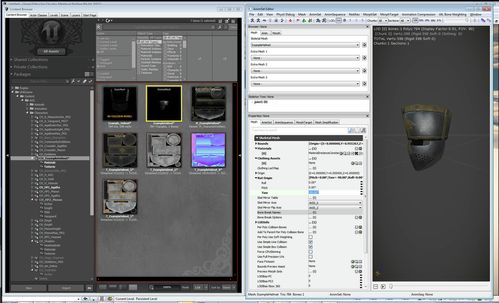
1.15 - now lets apply the material to our skeletal mesh - double click on it in the asset browser
1.16- in the skeletal mech tab - under the materials rollout, you will find the material directory for each material ID on the skeletal mesh, since this object is using only one material theres only one slot. to use our created material first click on it in the assets browser, then click the green arrod on the right side, similar to the texture section.
2.1 - now we need to make sure the helmet is aligned properly and fits on the character correctly. browse to one of the character skeletal meshes (in this case were using the vanguard) and double click on it.
2.2-4 - click on the socket manager in the upper left reigion of the animset editor- and find the HelmetPoint socket, from there find the Preview Skel Mesh slot and add your helmets skeletal mesh like before.
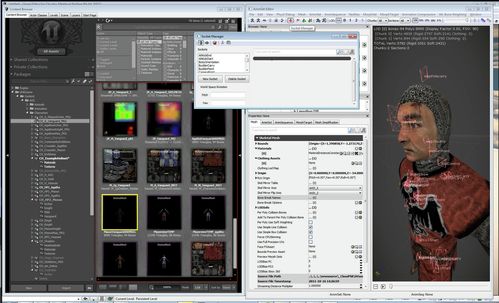
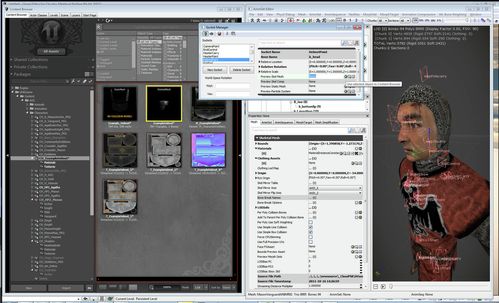
2.5 - as you can see, the helmet is rotated -90 to the left - so in order to fix this we want to go into the skeletal mesh for the helmet, and under the Rot Origin rollout, zero out the Yaw rotation
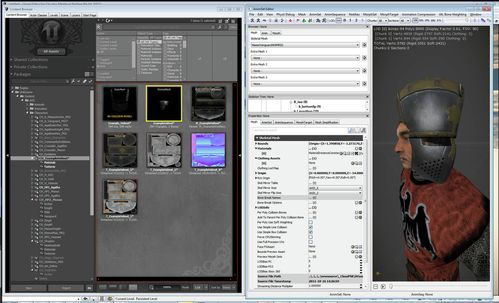
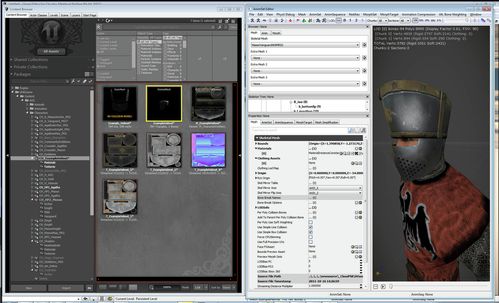
2.6 - now our helmets looking right!
Material instance
left check mark enables custom attribute
name for the helmet object SK_CH_helm
Physics Asset for shadow frustums
Static Mesh: for when the helmet gets knocked off
Textures:
Diffuse:
Gloss: environment mask
Normal: correct swizzle Y+ go over the common programs and how the work with unreal + the "Wrong is right" test
Spec: color - using the color in the spec map to tint the environment map
Weapons need a trace start and trace end socket.