...
| Note | ||
|---|---|---|
| ||
| Be careful: if you update your map or mod, server operators will have to update the package on their servers (rerun the download tool,) otherwise the version that clients autodownload won't match what's on the server. It's recommended that you include "WIP" ("work in progress") or "Beta" in the Workshop entry if you're regularly updating your map to let server operators know. |
Uploading:
After you have created your map, it is time to upload it to the steam workshop. Thanks to the SDK Frontend tool that Torn Banner provides, this process is relatively painless.
Step 1:
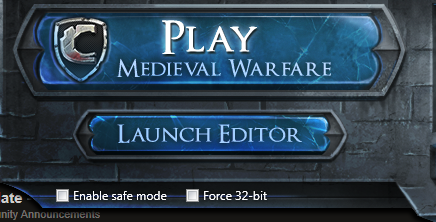
Open the SDK Frontend. To do so, double click Chivalry: Medieval Warfare. On the launcher, click on 'Launch Editor'
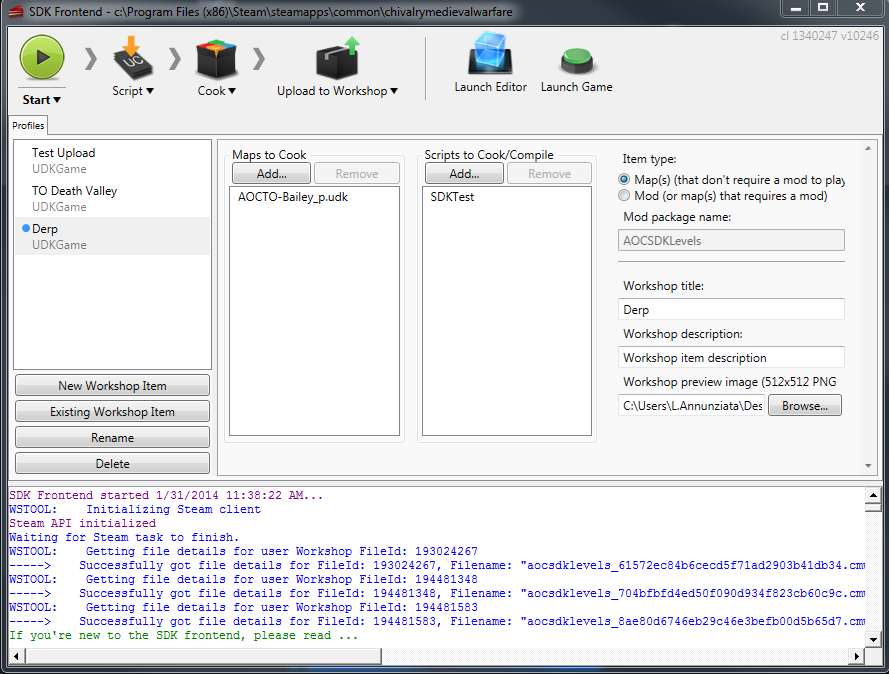
This is the SDK Frontend
Step 2:
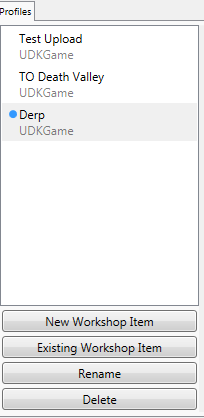
To create a new upload profile, click on 'New Workshop Item'. (If you want to upload over top of an item you uploaded previously, use 'Existing Workshop Item')
Step 3:
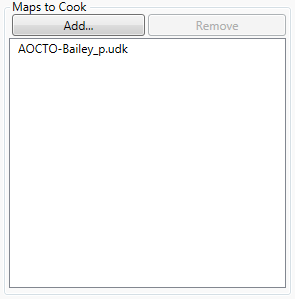
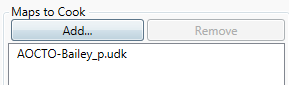
Under 'Maps to Cook' select 'Add...' and it will bring up a list of Maps that are located in you local /ContentSDK folder. If you are only Compiling a mod, you can skip this step and instead disable the cook packages feature in the top bar.
Step 4:
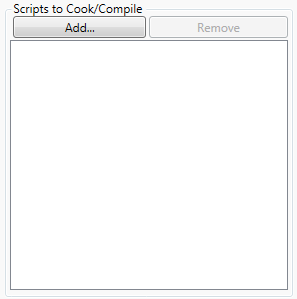
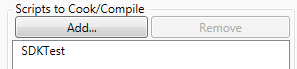
If your mod requires scripts, go Under 'Scripts to Cook/Compile' select 'Add...' and it will bring up a list of Maps that are located in you local /Development/Src folder. If you are only Cooking a map, you can skip this step and instead disable the compile scripts feature in the top bar.
Step 5:
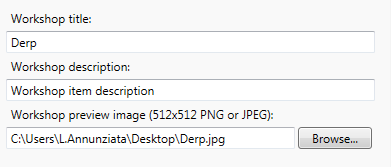
Select the Item type
...
Give your Item a Workshop title, a description, and a preview image. These things can all be changed once you upload it to the Workshop as wellThe title and description can be changed on the Workshop page; you need to reupload to change the preview image, though.
Step 7:
Click the start button in the top left and wait for your map/mod to be cooked/compiled, then uploaded to the workshop.
...
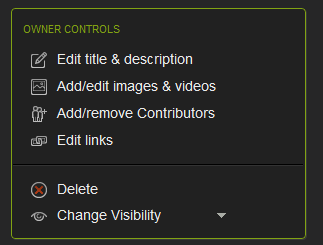
And to adjust the description, title, images, and whether or not it is visible to other users (they are visible by default), use the Owner Controls.